
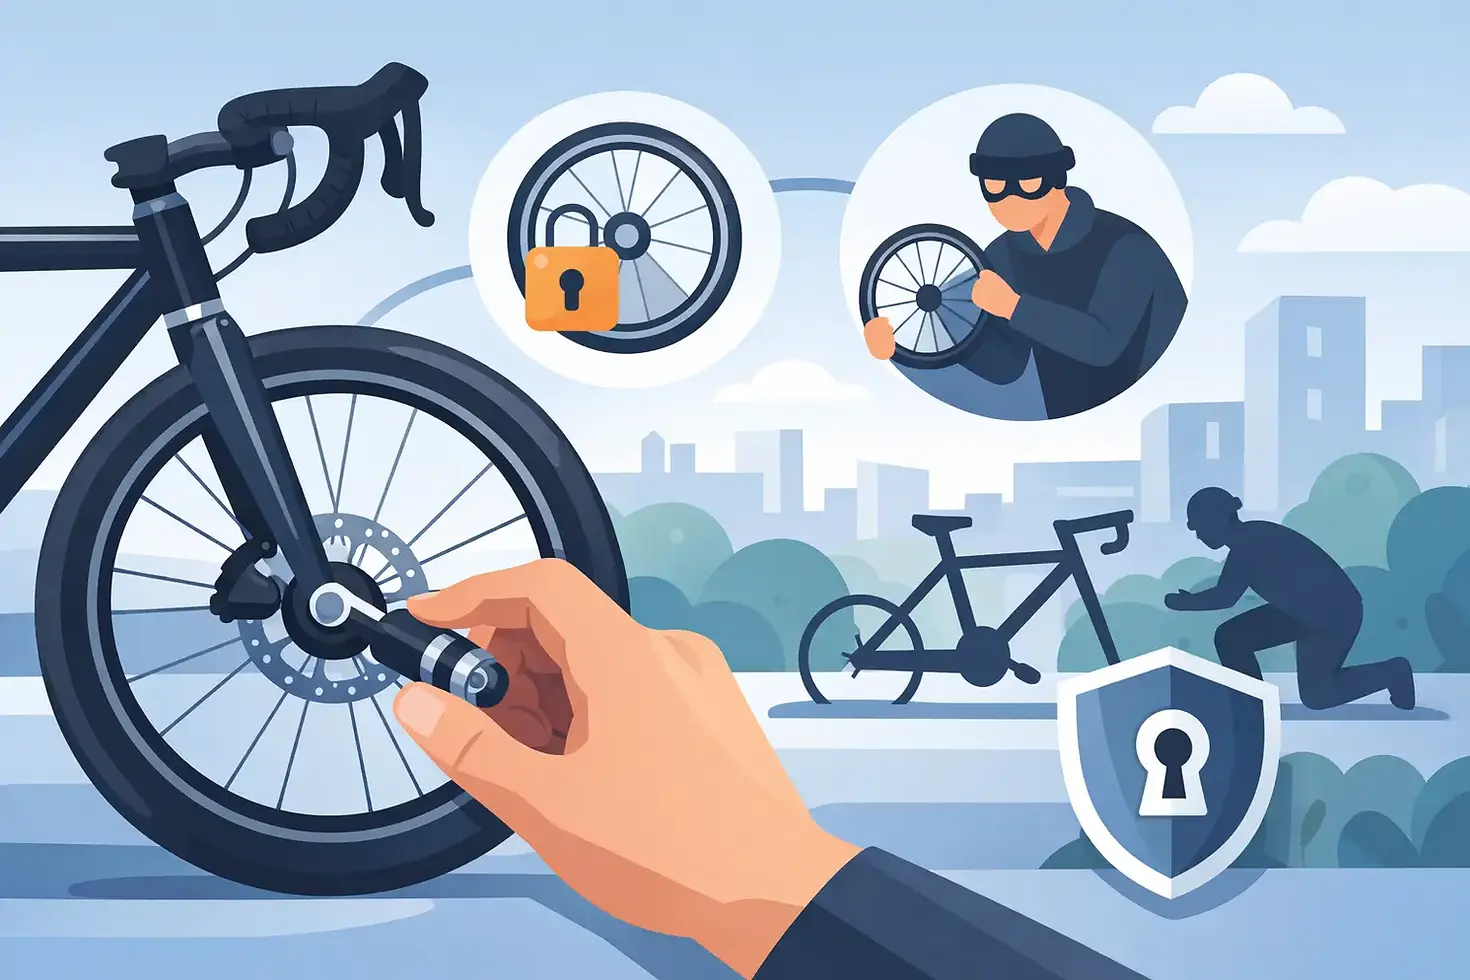
How to Secure Quick Release Wheels From Theft
A thief can remove a standard quick-release wheel in under 10 seconds. They do not need to cut a lock, defeat an alarm, or take the whole bike. If your frame is locked but your wheels use open quick-release levers, you have protected the least convenient part to steal. Knowing how to secure quick release wheels starts with closing that component-level theft gap.
Why quick-release wheels are a theft target
Quick-release systems were designed for speed at the roadside, not security at a bike rack. Open the lever, loosen the adjustment nut a few turns, and the wheel drops out. Front wheels are especially exposed because there is no chain, derailleur, or frame triangle slowing removal.
That speed creates a predictable theft pattern. A thief takes the front wheel, leaves the locked frame behind, and sells the wheel or strips the tire, rotor, cassette, and hub. In other cases, they remove both wheels, then return for the frame when it is easier to transport. Replacing a wheel can cost far more than the lock that would have prevented the theft, particularly on road, gravel, and e-bike builds.
A cable looped through a wheel can help only when it is correctly used every time. It also adds setup time, can be cut, and is often left at home. Security that depends on perfect habits is weaker than security built into the component itself.
Replace standard skewers with locking skewers
The direct answer to how to secure quick release wheels is to replace each standard skewer with a purpose-built locking skewer. Instead of an exposed cam lever, a locking skewer uses a tamper-resistant, keyed head. The wheel remains easy to remove for the owner with the matching key, but it is no longer a grab-and-go component for anyone else.
The locking mechanism matters. Basic hardware-store security bolts can sometimes be removed with common tools, improvised bits, or locking pliers. A bike-specific locking skewer should use a recessed, irregular key interface and a pin-tumbler locking design that resists turning without the correct coded key. The lock head should also sit low against the dropout, reducing the surface available for gripping or prying.
Pinhead Bike Locks are designed around this per-component approach. The goal is not to make a wheel theoretically impossible to remove. It is to make removal noisy, slow, tool-intensive, and unattractive when easier bikes are nearby.
Lock both wheels, not only the front
The front wheel is usually the first target, but securing only that wheel leaves an obvious weak point. Rear quick-release wheels carry expensive parts: a cassette, disc rotor, tire, tube, and often a higher-value hub. They are also more expensive to replace.
Install locking skewers on both wheels. If your bicycle has a quick-release seat collar, protect that too. A thief who cannot take the wheels may take the saddle and seat post instead, especially on a bike parked daily in the same location.
For bikes with rim brakes, check that the skewer hardware clears the brake arms and that the wheel sits fully in the dropouts. For disc-brake bikes, confirm rotor alignment after installation. A wheel that is secure but incorrectly seated is not safe to ride.
Choose the right lock for your axle system
Not every removable wheel uses the same axle standard. Before ordering a wheel lock, identify what is on your bike.
Traditional quick-release wheels use a thin skewer that passes through a hollow hub axle. Common road and hybrid sizes differ from many mountain-bike sizes, so measure the existing skewer or confirm the hub spacing. The lock must be long enough to engage correctly without leaving unnecessary threaded length exposed.
Thru-axle wheels require a different solution. A thru-axle is larger in diameter and threads directly into the fork or frame. It may look more secure than a quick release, but it can still be removable with a standard hex key. If a thief needs only one common tool, the wheel is still vulnerable. Use a security thru-axle designed for your axle diameter, thread pitch, and length.
Solid-axle wheels use nuts rather than a quick-release lever. Standard nuts are not a security system either. A matching locking nut system is the appropriate choice when the axle does not accept a skewer.
If you run an e-bike, do not assume the motor wheel is safe because it is heavier. A front hub-motor wheel may still use a removable axle, and a rear wheel can contain a costly motor, controller connections, and specialized hardware. Verify the axle type before choosing a lock, and avoid pinching motor cables during installation.
Install locking skewers correctly
A security skewer only works when it is installed with the same care as any other wheel-retention part. Remove the original skewer while holding the wheel in place. Keep the springs oriented with their narrow ends facing inward toward the hub. Slide the locking skewer through the hollow axle, then thread the locking nut onto the opposite side.
Center the wheel in the dropouts before tightening. Close or tighten the locking mechanism according to its instructions. The wheel should be firmly retained without crushing bearings or binding the hub. Spin the wheel and check for brake rub. Then pull the wheel laterally at the rim to confirm there is no movement in the dropouts.
Do not overtighten in the belief that more force equals more security. Excess force can damage threads, affect hub bearings, or make future service difficult. The security comes from the keyed, tamper-resistant interface, not from brute tightening.
Keep the key somewhere separate from the bike. A key stored in an under-saddle bag defeats the point if the thief takes the bag first. For commuters, a keyring with house keys is practical. For fleet managers, clubs, and bike shops, record the lock code at the time of sale or installation so replacement keys can be identified later.
Lock the frame first, then eliminate the easy parts
Wheel locks are component security. They do not replace a serious frame lock. When parking, secure the frame to a fixed object with a high-quality lock, ideally through the rear triangle where the frame and rear wheel are both captured. Then let locking skewers protect the wheels from quick removal.
This layered approach closes the most common loophole: a well-locked frame with unsecured components. It also keeps your parking routine fast. You are not threading long cables through both wheels every time you stop for coffee, commute to work, or leave a bike outside a shop.
Parking location still affects outcomes. Use visible racks fixed to the ground, avoid isolated spaces, and do not leave your bike in the same low-traffic spot for days. But do not confuse a busy location with security. A thief needs very little privacy to flip a quick-release lever.
Check wheel security during routine maintenance
Inspect locking skewers whenever you clean the drivetrain, rotate tires, service brakes, or transport the bike. Look for a fully seated lock head, intact key interface, and no signs of tool marks. Confirm that the wheel remains centered and that the axle hardware has not loosened.
If you remove wheels for a car rack, travel case, or flat repair, reinstall the locking parts immediately afterward. This is where standard skewers often creep back onto a bike: a quick repair becomes permanent, and the security upgrade disappears without notice.
For bike shops and clubs, wheel security is an easy service conversation because the risk is visible. Ask whether the rider parks outdoors, rides quick-release wheels, or has already replaced a stolen wheel. Those answers usually reveal whether component locks should be part of the build, not an afterthought.
A locked frame with unsecured wheels is an invitation to partial theft. Fit the correct locking hardware, install it carefully, keep the key accounted for, and make your bike the one that takes too long to strip.


Comments